Wednesday, February 2, 2011
Breeding Tomatoes at Home

Today I want to try and do a how to on breeding tomatoes for the home gardener. A lot of times I think this subject gets lost in science terminology and really it is not that hard once you get the basics and have done it several times.
A cross is to take two different varieties and combine them to get a new type of variety that has genes from both parent varieties. First let's do a basic run down of the different flower parts and what they do.
Sepals
The sepals of a tomato flower are the outermost structures that enclose the flower and protect it before it opens. Together, the group of sepals is called a calyx. They are connected to a stem part known as the peduncle, and support the rest of the flower.
Petals
Petals are the yellow flaps that contain the reproductive parts of the tomato flower, and recruit bees and birds to become pollinators. As a whole, the petals make up the corolla.
Stamens
The general term for the male reproductive part of a flowering plant is the stamen. The filament, or "stalk," of the stamen stands vertical inside the flower petals. Atop the filament sits the anther, which is responsible for making pollen. In the case of tomato flowers, several stamens are connected and enclose the female reproductive parts.
Carpels
The pistil is the female reproductive structure of a flowering plant. In tomato plants, this green formation can be thought of as a collection of several separate parts knows as carpels, which each contain three parts: The tip of the pistil is called the stigma. The vertical stalk that holds the stigma is the style. The base of the carpel encloses ovaries, or eggs.
Fertilization
Having both male and female parts, tomato plants can pollinate themselves. While cross-pollination is common, normally pollen from the anther of one flower is transferred to the stigma of the same flower. The pollen grain then extends down inside the style to form a tube, which then carries two sperm cells down to one of the ovules. Once fertilized, the ovule becomes one of the seeds of the tomato fruit.
Now that we are more familiar with the parts that make up the flower, let's move on to crossing our tomatoes.
Emasculation (Flower vasectomy)
Flower buds about 2 to 3 days away from opening should be chosen for emasculation. At this stage, the petals slightly jut out of the flower bud and the corolla color is slightly yellow or even paler (basically the flower is still closed but you can just start to see the yellow bloom inside. To emasculate, use a sharp-pointed forceps (Tweezers with pointed ends) to gently force open the unopened bud and the corolla, and then the anther cone. Then, carefully pull the anther cone out of the bud leaving only the calyx, corolla, ovary, and the style. Usually the flower is emasculated from 1 -3 days prior to pollination. Carefully place a cloth bag over the emasculated flower to prevent insects from fertilizing the flower. These can be bought in the craft section at box stores and hobby stores just ask for the small wedding bags.
If you look at the flower parts image to emasculate the flower carefully remove the yellow petals and the stamen being careful not the remove or damage the stigma or ovaries. If you mess up the first few tries welcome to the club. Tomatoes have lots of blooms so keep trying. It's not too hard once you get the hang of it.
Pollen Collection (male parent)
There are many ways to do this but I am going to share the simplest method here. Get a cheap pair of dark sunglasses and pop out one of the lenses. (The dark lens will help you to better see the pollen) Pick an open flower and place the sunglass lens directly under it. Now tap the flower and the pollen should fall and land on the lens. You can also use the back side of an electric toothbrush. The vibrations will cause the pollen to come out and fall to the lens. Collect this pollen into a small container with a lid. Place the container inside so the pollen can dry a little. You can place near a lamp to speed this up if you want. After a hour or two place the top on the pollen container or cover with plastic wrap. Set aside till the next day.
Pollination (the fun part)
Now that you have collected your pollen and emasculated the flower the next step is to actually make your cross. You can use a small paint brush, Q-tip, or your finger. Whatever you use dip it into the container so that the pollen sticks to it. Make sure you get plenty of pollen on the stamen to insure good fertilization of the ovaries. Be careful that you do not damage any of the parts. Cover back up with your cloth bag. Repeat this step over the next three days. You should be able to notice a swelling of the ovary this indicates that the cross was successful. If it does not and the flower is aborted then the pollination did not take. Do not worry about it as it can happen just keep trying. Once the fruit is setting then you can remove the bag. You need to make sure to mark the stem so that you know it's the crossed fruit. You can use a loosely tied string or something similar. Just make sure whatever you use is not too tight and it can hold up to the elements.
Harvesting
The duration from pollination to fruit ripening is about 45 days but could vary depending upon cultivars and season. In warmer climates, plant development tends to be more rapid than under cooler conditions. The pollinated fruits should be kept on the plant until they become fully mature, preferably at least in till they blush. (Meaning that they have at least started to turn their final color)
OK, so now that you know how to cross tomatoes, what comes next?
If you grow out your crossed seeds you will have a hybrid tomato. The cool part about hybrids is that any time you cross the same two different varieties the hybrid plants will always be the same and each of the hybrid plants will be genetically identical.
This means if you cross two heirlooms say Brandywine X Black cherry tomato then grow out the hybrid and really like it, then you can always go back and make the cross again and get the same hybrid again. Also seed is good for many years so you can use any leftover seeds to grow the hybrid again as well
Now if you grow out seed of the hybrid plants the pants will be different from each other and you can pick which ones have characteristics you like and continue trying segregate them into a new variety.
Hybrid (f1) Frist generation after the cross
F2 second generation plants will have variations from each other pick the plants you really like something about and save the seed.
F3 third generation continue to select plants that have characteristics you like and save seed
F4 –F8 At around F5 to F8 the plants from seeds will start to have little to no variation meaning that the plants will have the same characteristics and are a new variety. Congratulations you have just breed your very own variety of tomato and have every right to give it any name you want. Just if it is really a good one make sure you send me some seeds J LOL
Again hope you folks enjoyed the blog and learned something new. Please feel free to post comments, suggestions for future blog topics, or really anything you want to say lol
Monday, January 31, 2011
Poderosa Red Beefsteak Tomato and my Birthday surprise for you.

A.k.a. Henderson's Crimson Cushion, Red Ponderosa, Beefsteak. Said to be the original strain of Red Beefsteak tomato. The large fruit can weigh up to 2 lbs. and are excellent for tomato sandwiches or slicing on a platter. Great old fashioned taste! Indeterminate, regular leaf foliage. (80 days).

History
- Also known as Henderson's Crimson Cushion, Red Ponderosa, or Beefsteak.
- Introduced by Peter Henderson in 1894, this is the original strain of Red Beefsteak.
- Click here to view the Henderson 1894 catalog page scan at Crail LeHoullier's web site
- PI 644743. Donated to USDA in 1961.
History and description are from http://t.tatianastomatobase.com its a data base of tomatoes check it out sometime, it truly is a fantastic site.
So now that I hopefully got you all excited about this wonderful heirloom tomato, I guess I should share my surprise. See today is my birthday, and as the saying always goes it is far better to give than to receive so I have decided I am going to give my readers a gift of seed from me to you. So here are the details I have about 3/4 of an ounce of this tomato seed, that is a lot of seed so if you would like to grow them just send me an email at Stepheninky@gmail.com and use the subject Beefsteak so I know its not spam and I will send you an email with my address. All you have to do is send me a Self Addressed Stamped Envelope and I will send you a packet of tomato seed.
Now if you are not in the US or Canada let me know and I will do my best to send you seeds as well. I am not rich so just depends on demand.
This seed offer is first come first served once I am out of seed I am out. That being said I will email you as I might have some other varieties I could still send you.
Ok so happy birthday to me and hope to here from anyone wanting seeds.
Saturday, January 29, 2011
Starting Seeds Indoors
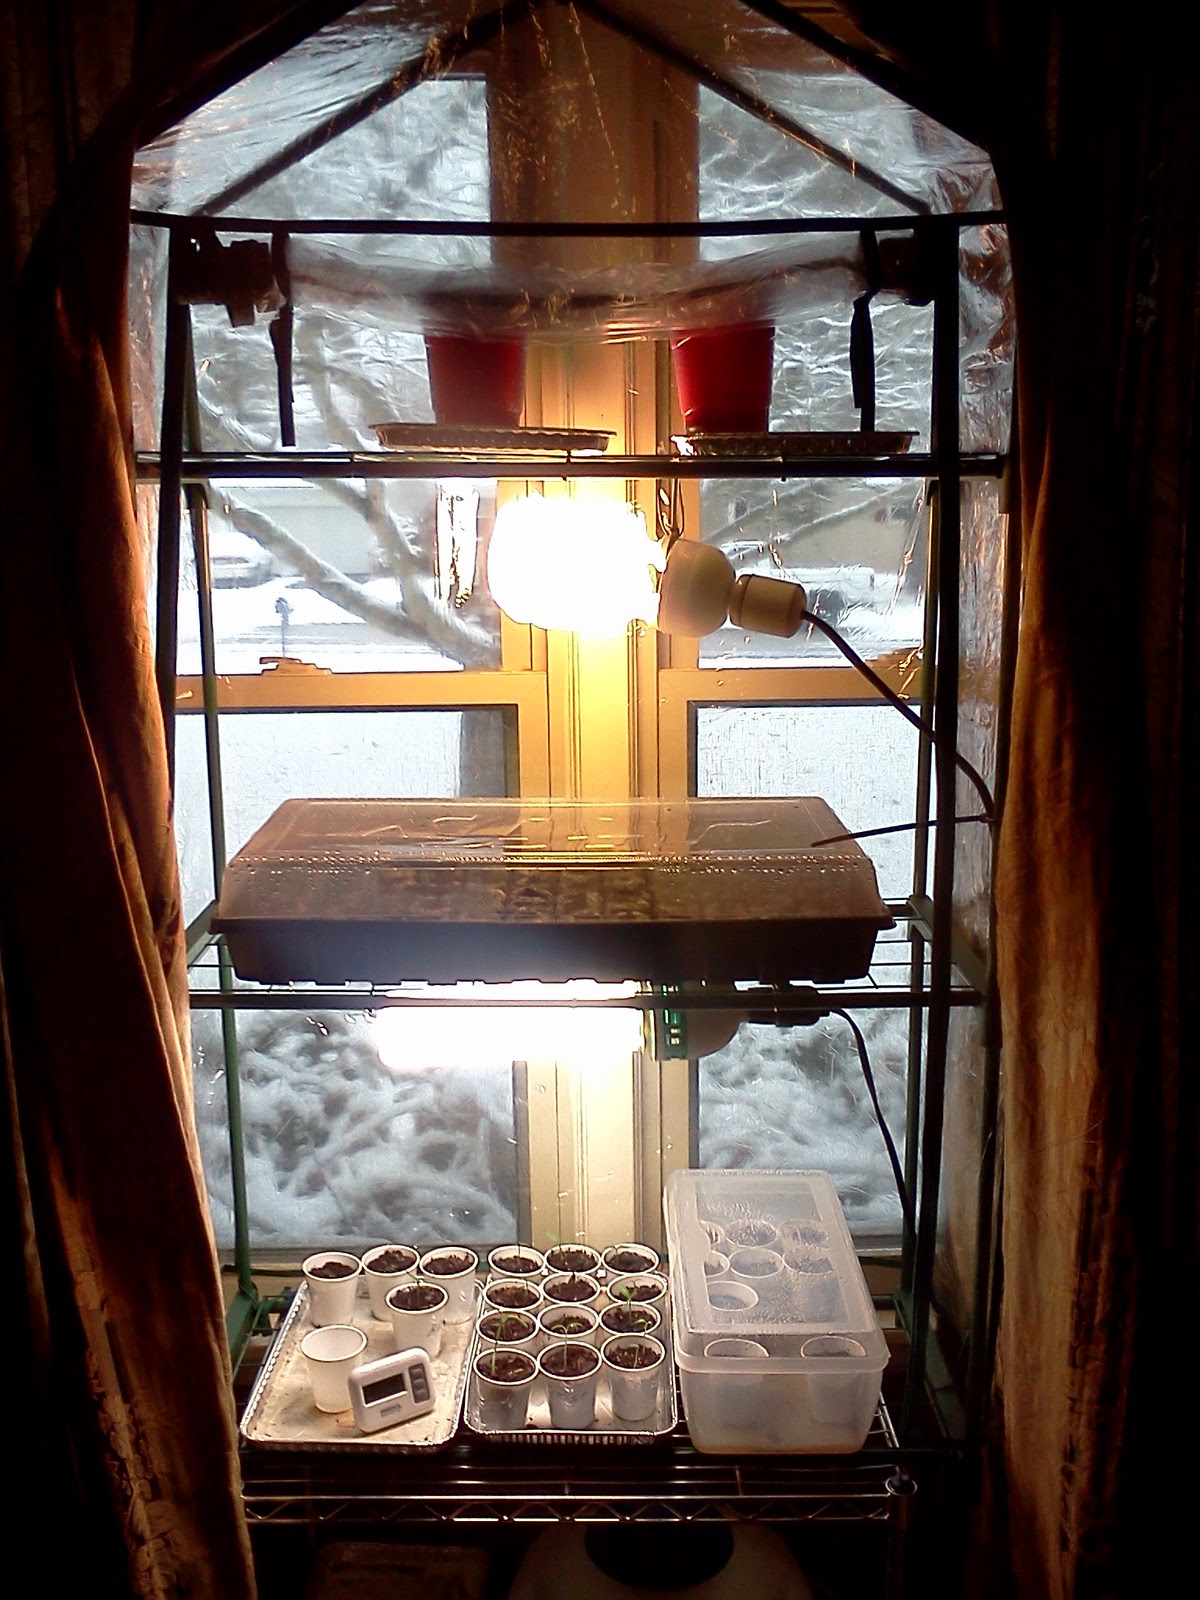 |
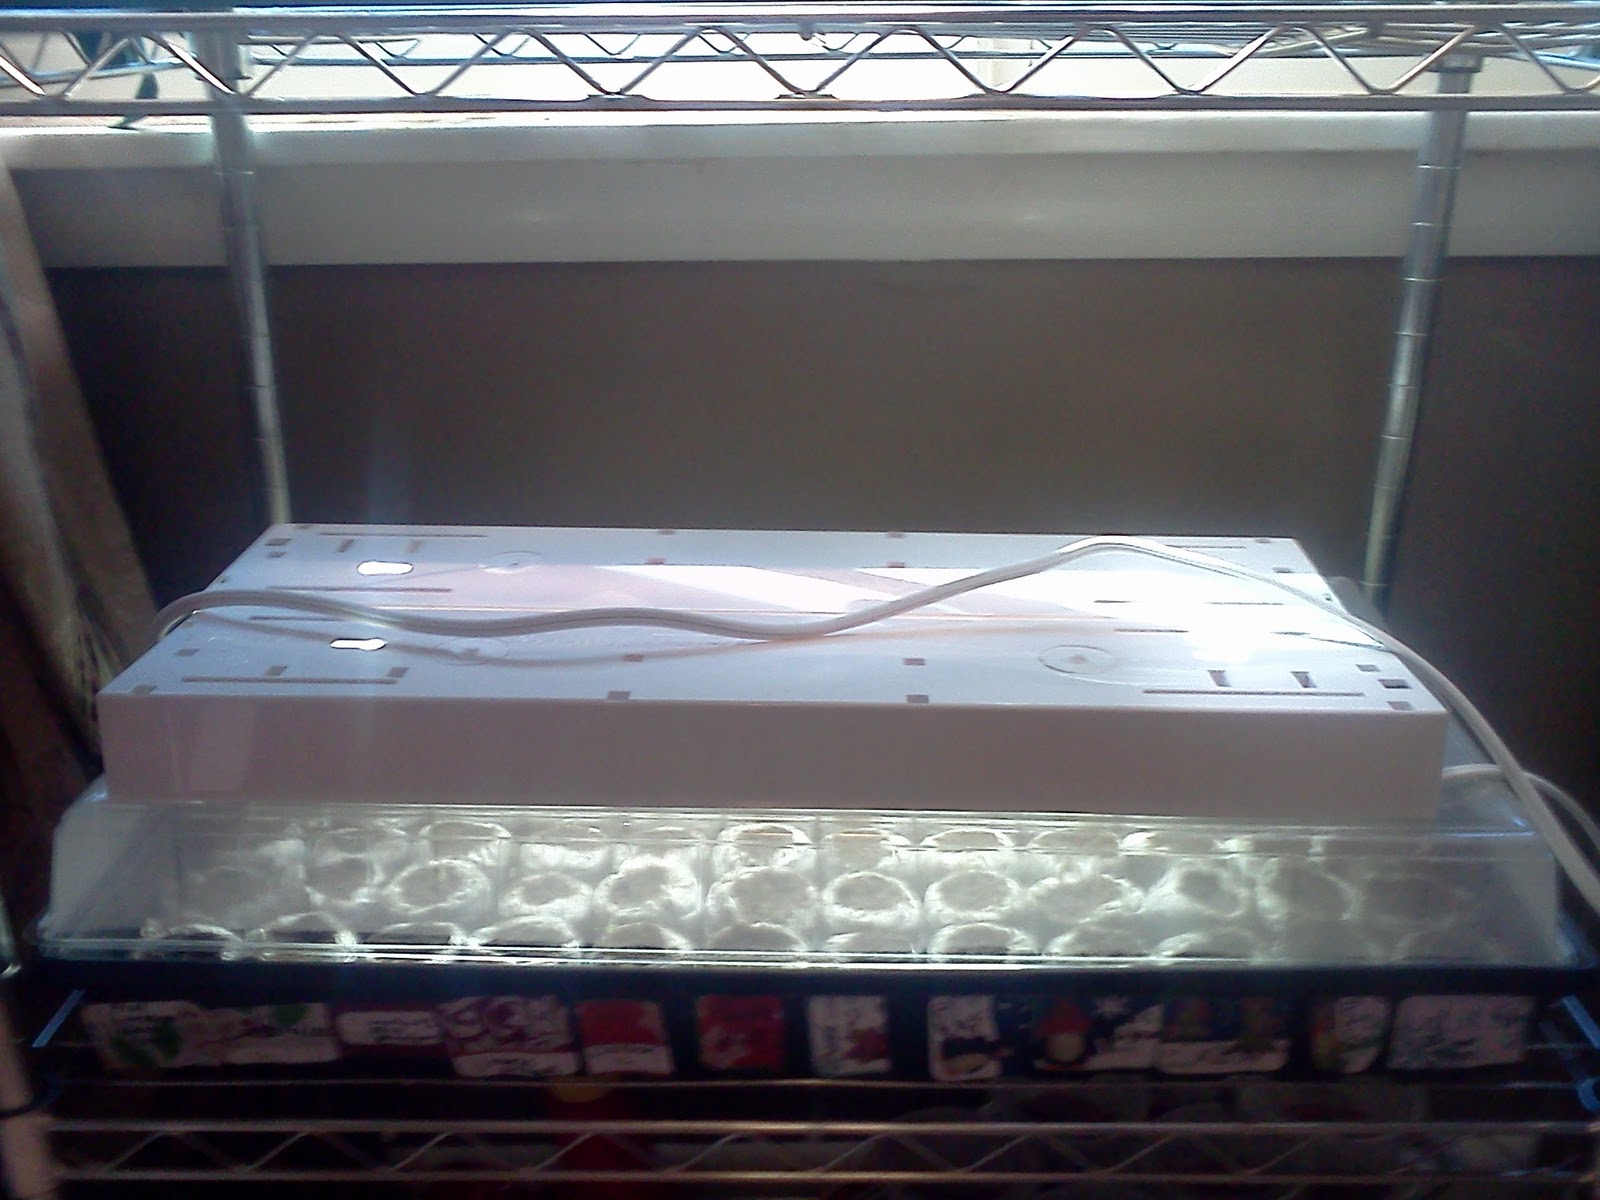
| This is just a $20 mini greenhouse |
You can start seeds in almost any container as long as there is drainage holes. Small drinking cups work great or you can also purchase different seed starting trays.
You will also need enough light. Some people are lucky and have a good south facing window to start seeds in. If you are not that lucky or want to supplement the light for better success there are many options. One of the cheapest options that work great is to buy a florescent shop light for about $10. The great thing about using these is that you really do not need special plant bulbs. Just look for the regular bulbs that list a color temp of between 5000K and 6500K they are easy to find and pretty standard.
It really can be that simple some cheap lights, a container of some type, some seed starting mix or potting soil, and of course seeds. Just add water and you are good to go.
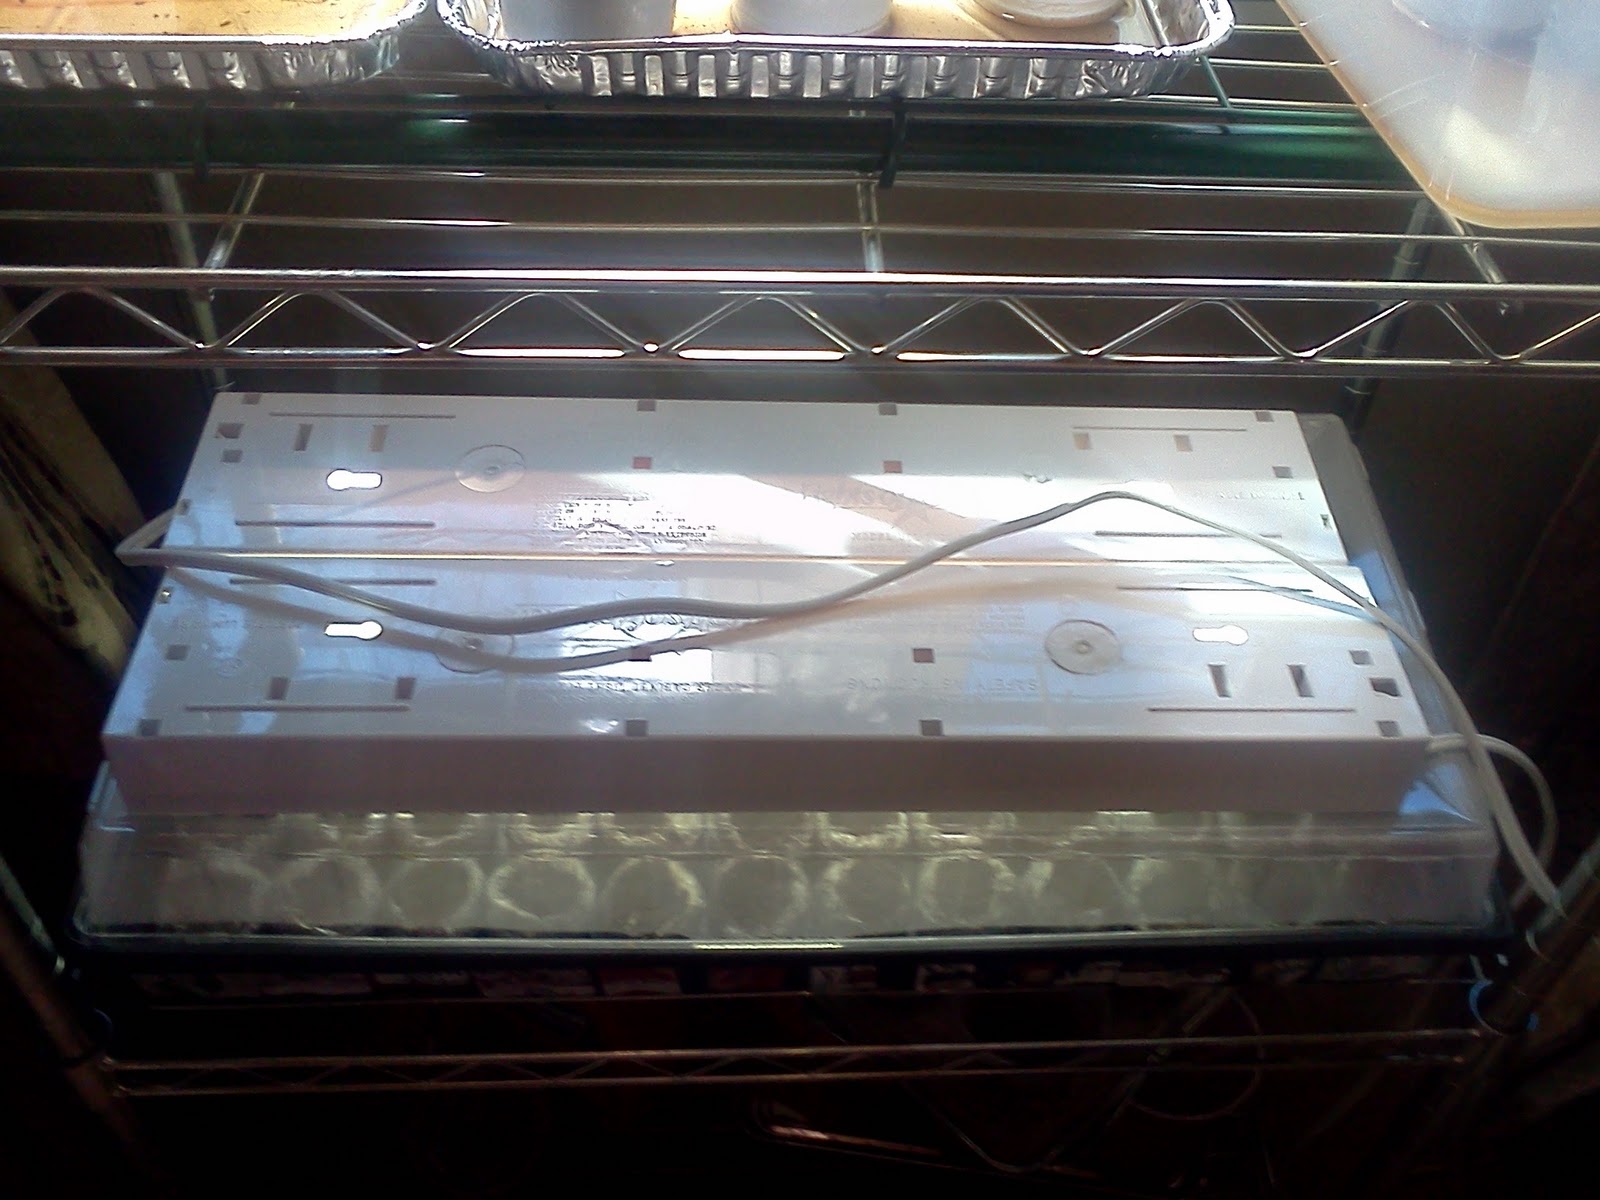 |
| Here is a simple seed starting system I have set up. Once the dome comes off I will just rig up the lights |
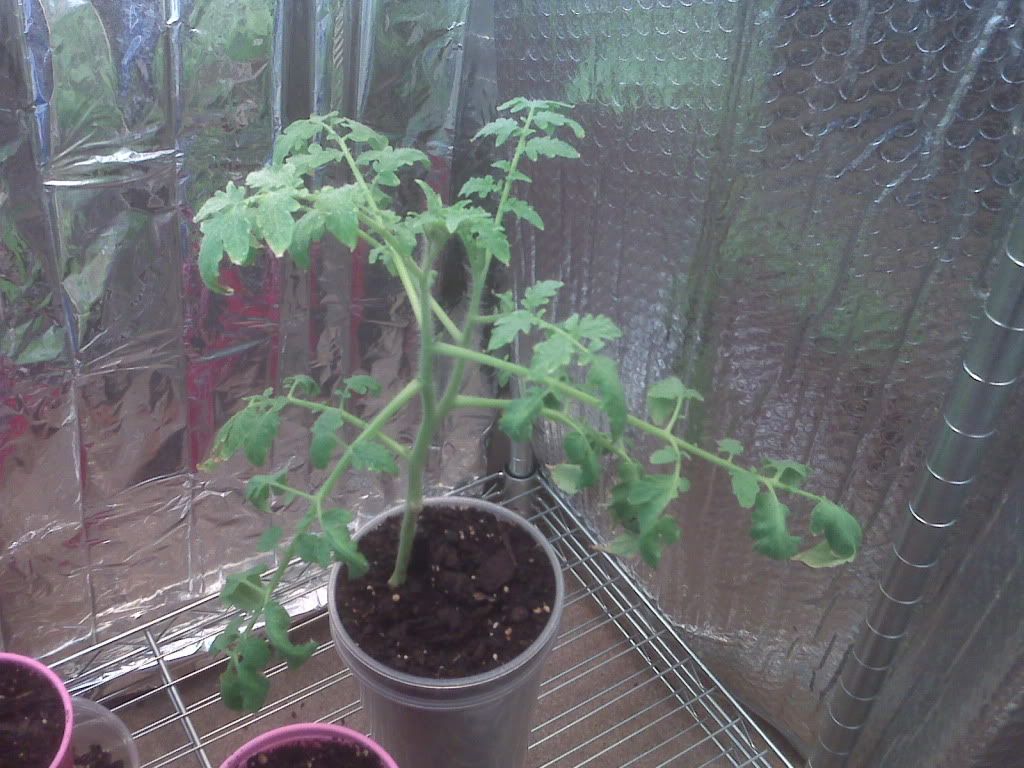
I have started some seeds really early this year as I also want to do a post on cloning the plants. This way you can start one plant inside and get many from it. ( I will be in a future blog post )
I will post some pics of my set up I am using to give some ideals but remember it really does not have to be as complicated as mine.
Started seeds for
Big Bertha PS Pepper
Giant Aconcagua Sweet Pepper
Chinese Giant Pepper
Giant Marconi Pepper
Corno di Toro Pepper
Sweet Pickle Pepper
1 goose creek Tomato
1 terhune tomato
72 Ponderosa Red Beefsteak tomatoes
6 each of 12 other varieties of tomatoes
and three cups of sweet basil
 |
| These are just a 72 pod Jiffy Greenhouse they only cost about 6 bucks |
 |
| This is one of my Big Bertha Sweet Peppers it spouted up a week and a half ago |
 |
| The smallest ones are called Sweet Pickle its an ornamental sweet pepper |
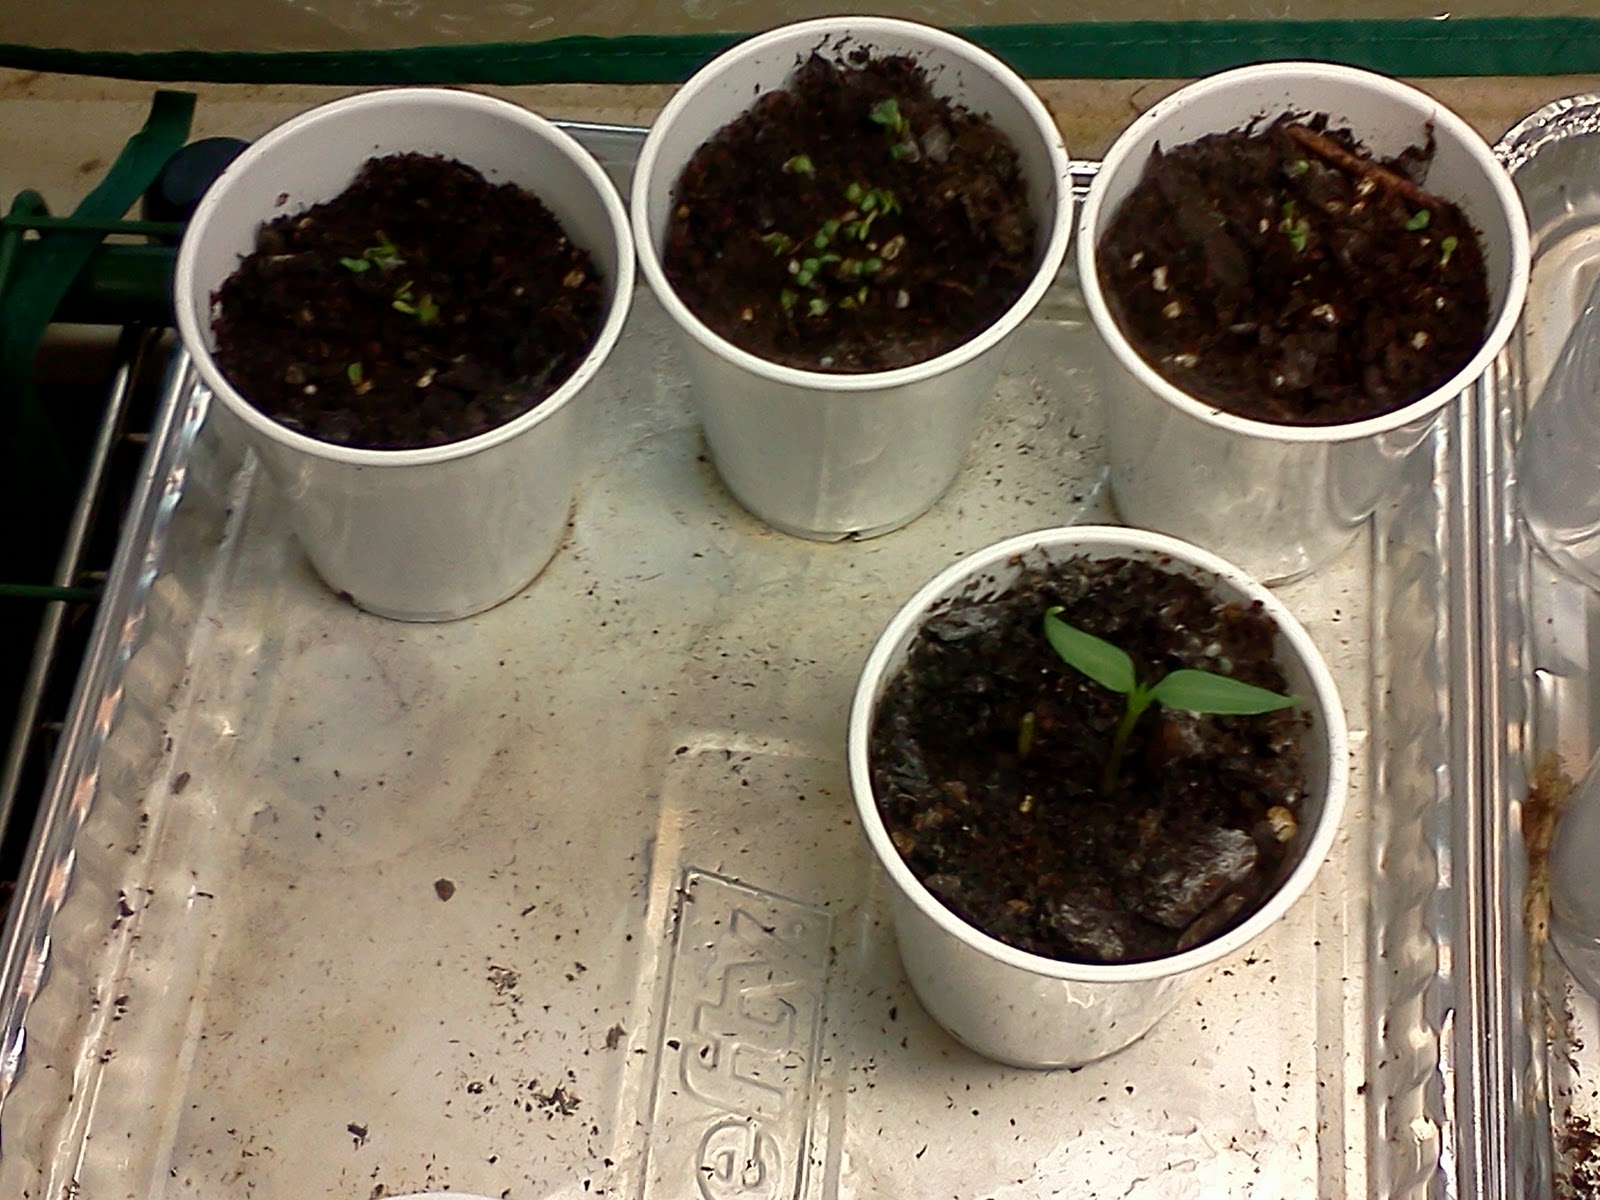 |
| The three in from are some sweet basil |
 |
| A trick to the jiffy pods is once they expand just give them a squeeze this will replace 1/4 of the water with air and prevent them from being too wet preventing dampening off and other fungus issues |
 |
| There are twelve varieties of tomatoes in here. So labeling really helps. I just recycled some old Christmas to from tags |
 |
| Just a shot of the Jiffy Seed Greenhouse with the lid off |
 |
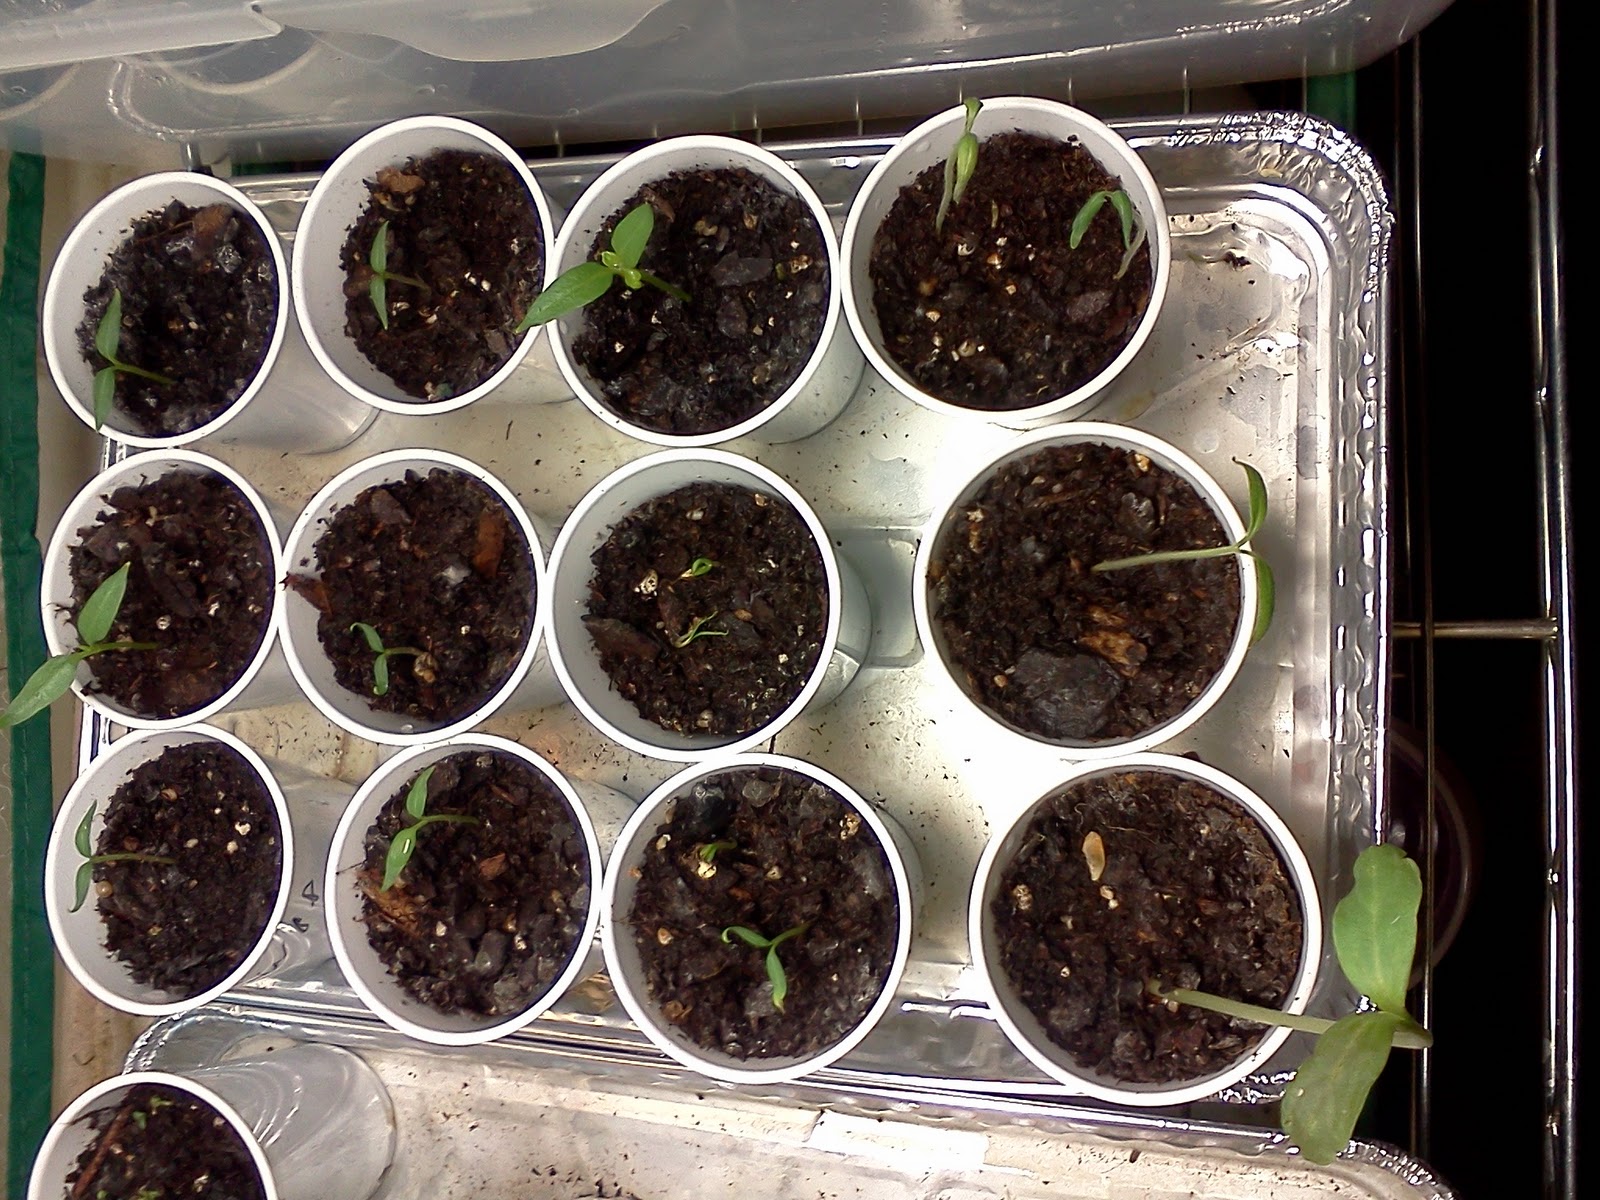
| This hook shape is what your seeds will look like as they sprout. Once they are up make sure they get some light |
 |
| Once they break the soil they may still be bent looking they will straighten up |
 |
| Another Big Bertha pepper |
 |
| Big Bertha pepper starting to get true leaves. Peppers tend to start off a little slower than other plants. Main thing to look for is the color and stem size, if the stem is long or the color is pale you need to adjust your light closer to the plants |
The tomatoes are really a bit too early but if they get too big my ideal is that I will clone them out. Depending on how the cloning goes and the timing I may sell the extras off. Just right now I have 144 tomato plants started. Cloning them from those plants would give me 3 - 6 more plants from each one. I will try and do a blog and possibly a video on how to clone them. That way even if you buy plants for the garden you can get more for your buck out of them.
Minnie's Pinstripe Tomato
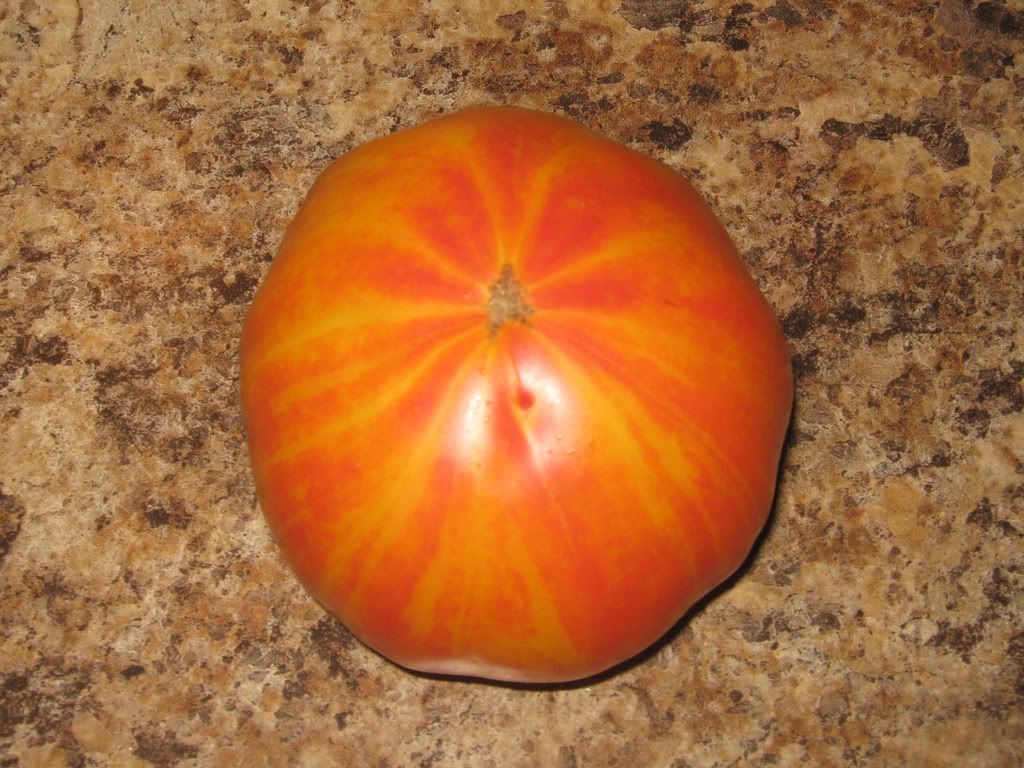
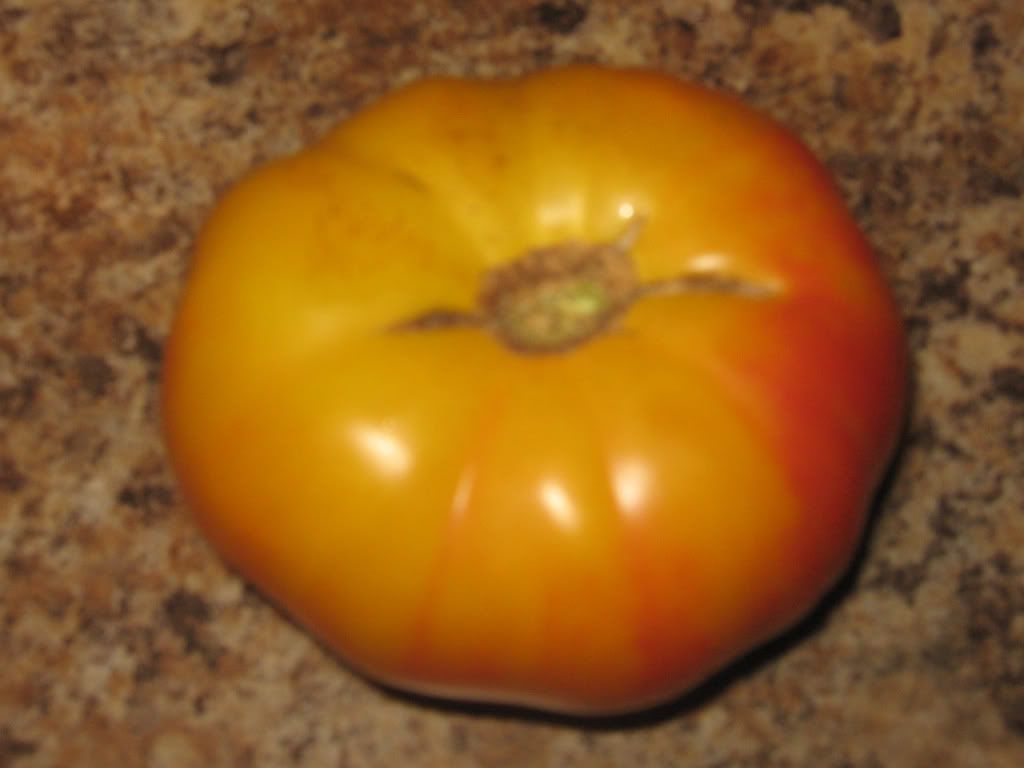
Minnie's Pinstripe - they are a beefsteak, up to 2 lbs in size though most will be in the 12-18oz range. They are yellow/ orange have red strips that radiate out at the blossom end and the shoulders are yellow. The interior flesh is marbled red and yellow with few seeds. Indeterminate RL. Seed originally came from an older lady in Bowling Green KY who has been growing it for years. Mild but tangy real tomato flavor. Has never been publicly released (well in till now LOL.)
After last season I gave away most of my seed for this variety. I had people from all over the US and had one fellow in Germany that wanted to grow it in the 2011 season. I know one seed seller that requested seed as well so maybe in a year or two it will become more available. I will plant out some this year as well and hopefully will be able to save more seed to give away again this coming year.
Just think up in till this coming year only 2 people have ever grown this variety. To me this is what seed saving and seed sharing is really all about. Making sure that great heirloom and open pollinated varieties are more available to future generations.
Next time I will be sharing my indoor seed starting project with everyone.
Till then just want to say. Some people think that snow turns to water when it melts, but I like to think that it turns into spring. So even though it has been a crazy winter with record snowfall in most of the country. Just think of all all that snow as a sign that spring is just around the corner.
A little about me and this blog and some up comming projects.
Hello Folks,
First off just want to say hello and thank everybody for checking out my blog. I am 36 years old but have been gardening for most of my life. Its always been something I have truly loved to do. At least three generations of my family have worked for a local plant nursery in town. Also both sides of my family come from farming backgrounds. While the title of the blog says Tomato Project I also grow other veggies as well and I am sure to post on those here, That being said it is just not a garden without tomatoes. I mostly grow heirloom and open pollinated tomatoes. This year will be a bit different as I will be changing things up and growing in raised beds. Will also be starting a tomato breeding project or two and will be posting plenty of tips and other projects as well. So looking forward to sharing my successes and failures in the garden with everybody this coming year.
First off just want to say hello and thank everybody for checking out my blog. I am 36 years old but have been gardening for most of my life. Its always been something I have truly loved to do. At least three generations of my family have worked for a local plant nursery in town. Also both sides of my family come from farming backgrounds. While the title of the blog says Tomato Project I also grow other veggies as well and I am sure to post on those here, That being said it is just not a garden without tomatoes. I mostly grow heirloom and open pollinated tomatoes. This year will be a bit different as I will be changing things up and growing in raised beds. Will also be starting a tomato breeding project or two and will be posting plenty of tips and other projects as well. So looking forward to sharing my successes and failures in the garden with everybody this coming year.
Subscribe to:
Posts (Atom)
About Me
- StepheninKY
- Hello, My name is Stephen and I live in Kentucky. I also love gardening. I guess you could call it a bit of a hobby. I figure as far as hobbies go it is a pretty rewarding one. There is nothing in the world better than growing and eating just about anything you grew yourself.